From cabinets to birdhouses, wooden cleats hold projects securely in place. Learn about their construction and benefits here
Cleats are one of the most basic methods of hanging something on walls, but they’re often overlooked. Attaching them requires slightly more time and effort than attaching cabinet hangers, keyhole hangers or picture hooks, but their capacity to support heavy loads, especially when the cleats are attached to wall studs, makes the effort worth it.I’ve used a French cleat, which features two interlocking parts cut most often at a 45-degree angle, many times over the years for various types of projects, including a TV cabinet, a headboard and even a birdhouse.
|
|
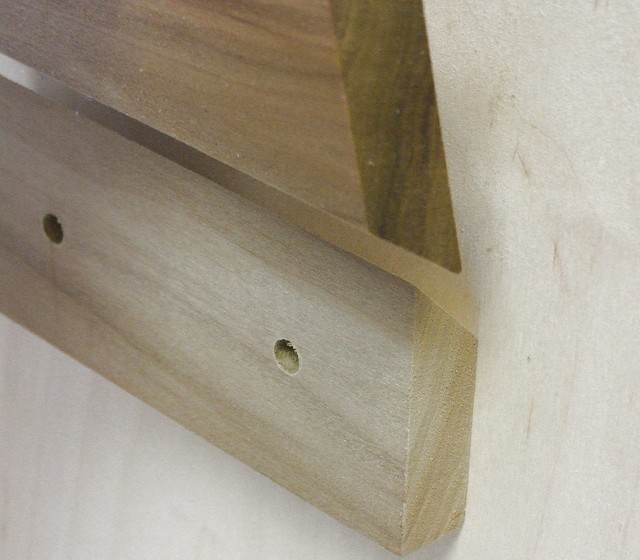
How Cleats WorkCleats in general feature two parts. One is connected to the project (project cleat), and one is attached to the wall (wall cleat). Here it is easy to see how the two parts of a French cleat fit together. The bottom part is attached to the wall (notice the screw holes). I always recommend attaching heavy projects to as many wall studs as possible.You can base your screw placements on the width of the project (and the cleat), and the position of the screws relative to the studs. For smaller projects that can’t be placed at a stud, use heavy-duty wall anchors.
|
|
|
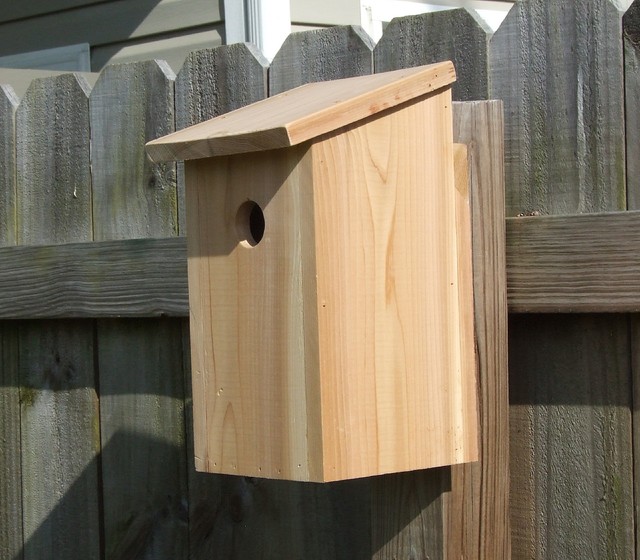
Project UsesFrench cleats have long been used by cabinetmakers to hang cabinets, but they can be useful for any number of projects, even something as simple as a birdhouse.
|
|
|
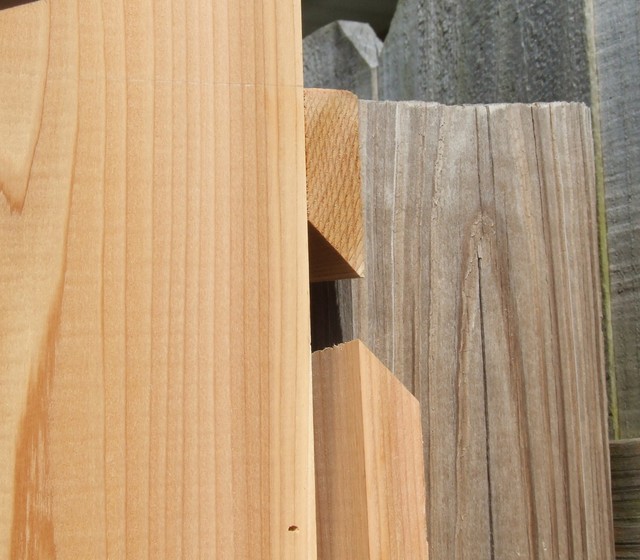
Here again you can see how the two parts of the cleat — one on the back of the birdhouse, the other on the fence post — come together. Notice that the project cleat is shorter than the cleat attached to the fence post. That’s to support the bottom of the birdhouse and keep it from tipping back toward the post. You could also add a smaller filler strip (with the same width as the cleat) near the bottom.
|

|
|
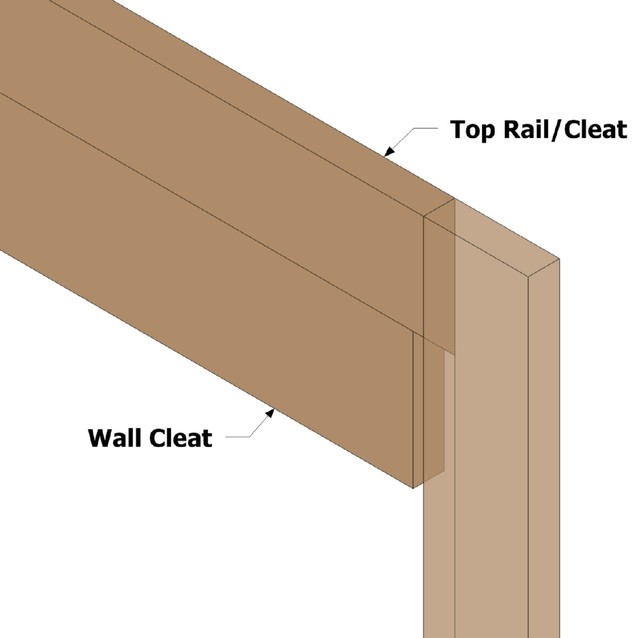
Cleats Included in the Structure’s DesignA French cleat also can be incorporated as part of the basic structure of a project, rather than being a component added to the back. As you can see here, the top rail of this frame has the 45-degree bevel cut on one edge. For heavy cabinets two project cleats are often used. This requires two wall cleats.
|
|
|
By adding the cleat this way, the entire frame is flush against the wall. In this design the wall cleat isn’t as wide as the project cleat. This allows the project to be set on the cleat more easily and adjusted slightly left to right as needed. If the wall cleat matched the width of the project cleat, it would be too tight to set in place.
|

|
|
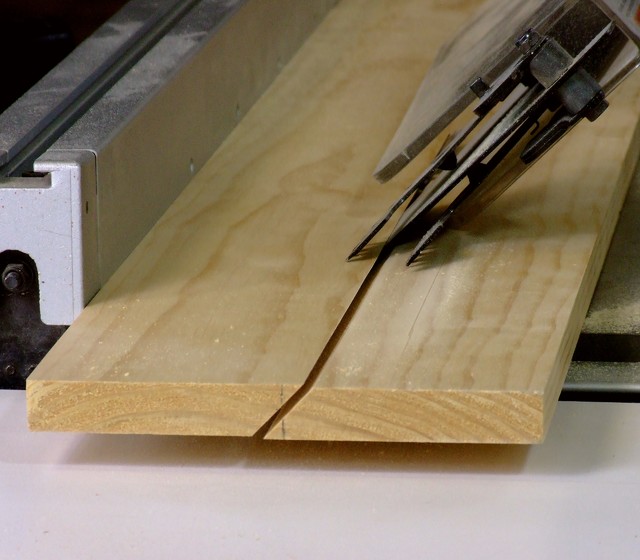
Making a French CleatStart by marking a centerline across the thickness on the end of a board. Then mark a 45-degree line bisecting this centerline, as you see here. Line up this mark with the blade of the saw.Remember to allow for the thickness of the blade (kerf) when cutting, as this will slightly affect the width of the cleats. As a general rule of thumb, allow ⅛ inch for the blade.
|
|
|
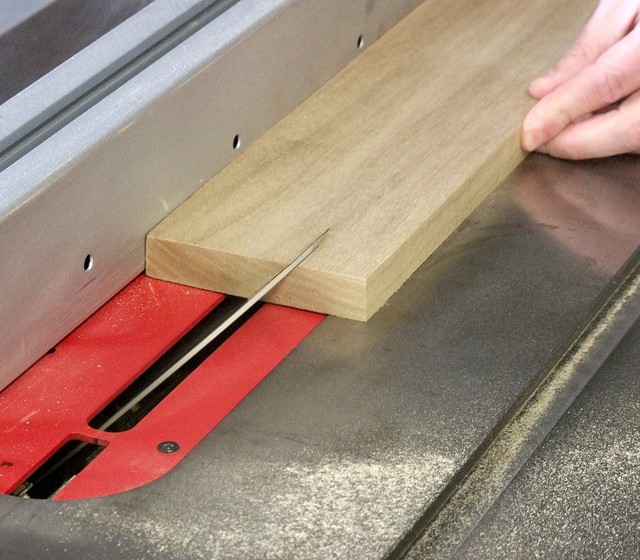
Rip (cut lengthwise) the cleats as you would normally rip any board. It’s generally recommended to rip a cleat first, then crosscut it to fit later. Why? Longer boards are generally easier (and safer) to rip on a table saw, and you can cut off any imperfections that occur on either end of the board.
|
Great article Via Houzz by Chris Hill
|
|
Here, with safety equipment removed for clarity, you can see the blade slicing through the board.More: See how to use a French cleat to hang a headboard
|
Speak Your Mind