Photo: Brian Wilder
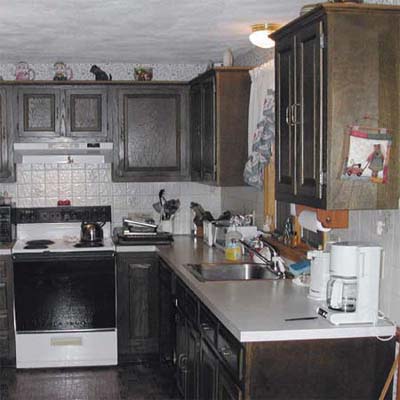
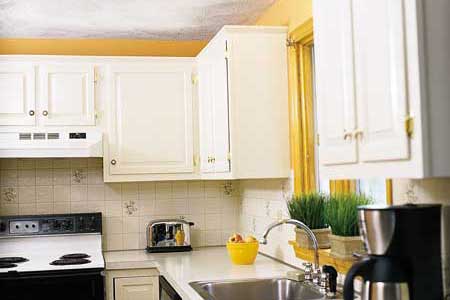
If your kitchen cabinets are solid but dated and dark, a fresh coat of paint can go a long way toward transforming the space without draining your bank account. You can hire a pro to spray-paint them for a thousand dollars or more, but there’s a less costly, and less messy, alternative to consider: Use a brush and paint the cabinets yourself.
"You don’t need to spray to get a smooth finish," says painting contractor John Dee, who has worked on a number of This Old House TV projects. He often brush-paints cabinets anyway because it gives him more control and avoids the risk of paint spray ending up where it’s not wanted. (Surface prep is the same whether you spray or brush.) Brushing is time-consuming, he warns, and could take up to a couple of weeks to complete. But the result is a durable, glass-smooth finish that’s the equal of anything from a spray gun. "You just need to use the best materials and take the time to sand and do the brushwork right," Dee says.

Photo: Brian Wilder
1. Prep the room
Before starting a kitchen paint job, empty the cabinets, clear off the counters, and remove freestanding appliances. Relocate tables and other furniture to another room. Tape rosin paper over the countertops and flooring, and tape plastic sheeting over the backsplash, windows, fixed appliances, and interior doorways (to protect the rest of the house from dust and fumes). Mask off the wall around the cabinets. Finally, set up a worktable for painting doors, drawers, and shelves.
Pro Tip: In kitchens the key to a good paint job is surface prep. "Old cabinets are covered with everything from hand oils to greasy smoke residue to petrified gravy," says Dee. "You’ve got to get all that off or the paint won’t stick."
Photo: Brian Wilder
2. Remove doors, drawers, and shelves
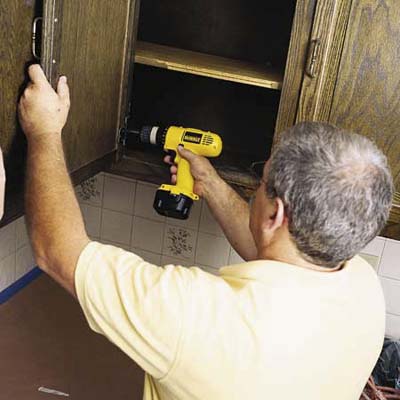
Back out the hinge screws from the cabinet frame and remove the doors. Working methodically from left to right, top to bottom, label each one with a numbered piece of tape. Also, number the ends of cabinet shelves and the bottoms of drawers. Set aside the shelf-hanging hardware. At your worktable, remove the pulls and hinges and save what’s being reused. On the doors, transfer the number from the tape to the exposed wood under one hinge. Cover it with fresh tape.
Continue reading here at ThisOldHouse.com

